Ge Front Load Washer Door Gasket Replacement
Alright, fellow laundry warriors, let’s talk about something truly thrilling. Hold onto your fabric softener sheets, because we’re diving deep into the glamorous world of GE front load washer door gasket replacement. Yes, you read that right. This isn’t about chasing a mythical sock or deciphering cryptic control panel symbols. This is about rubber. Glorious, grimy, sometimes-moldy rubber.
Now, I know what you’re thinking. “An article about a washer gasket? That’s about as exciting as watching paint dry, but with more lint.” And you know what? I get it. Most people would rather wrestle a badger in a phone booth than consider this task. But I’m here to tell you, there’s a certain… satisfaction to be found in this seemingly mundane chore. It’s an unpopular opinion, I’ll admit, but someone has to champion the cause of the humble washing machine seal!
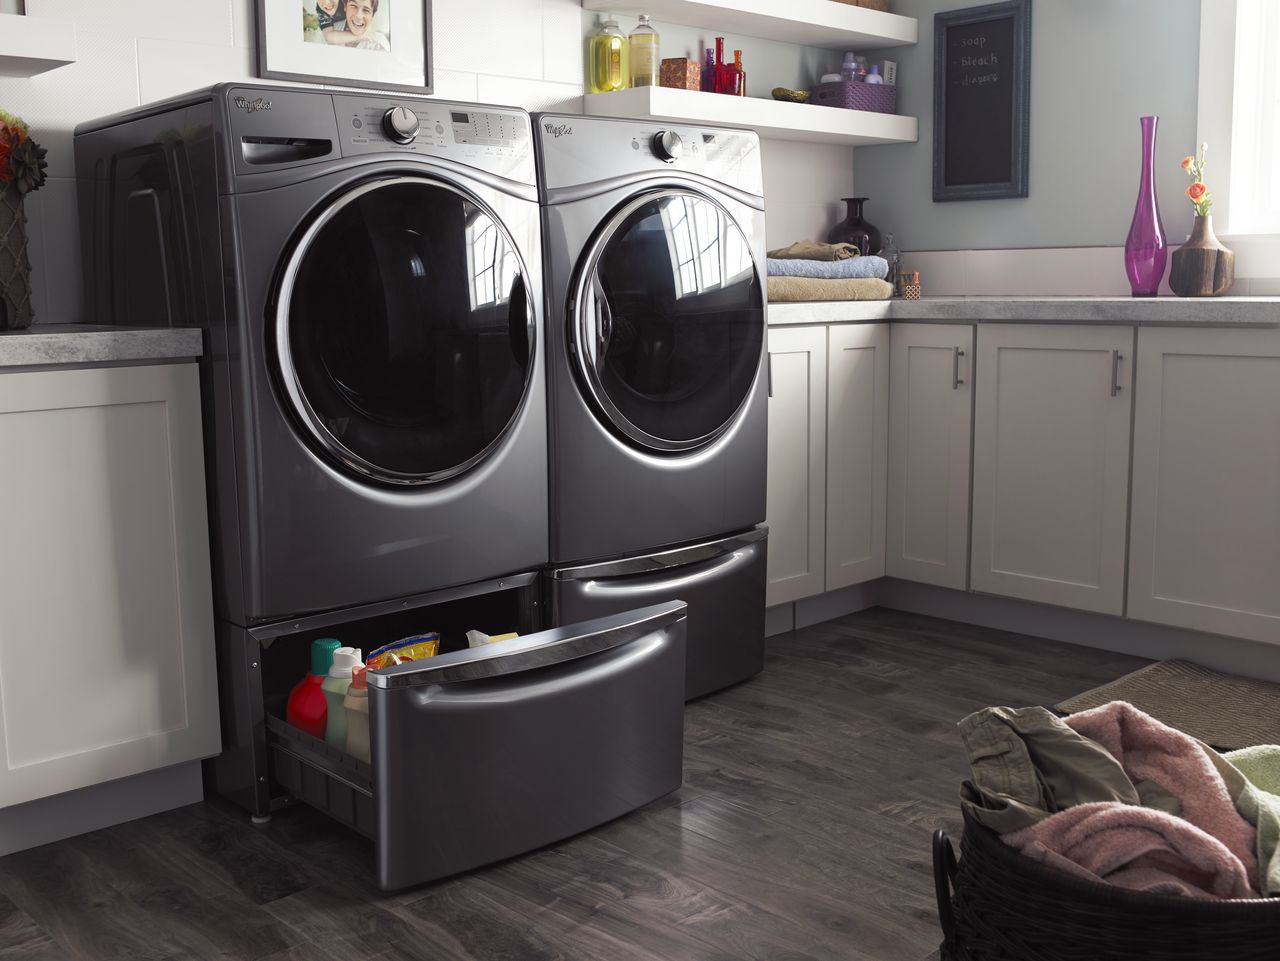
Think about it. Your GE front load washer is a workhorse. It churns out clean clothes, day in and day out. It’s the unsung hero of your household. And that door gasket? It’s the unsung hero of the unsung hero. It’s there, quietly doing its job, keeping that precious water contained within the drum. It’s the bouncer at the watery nightclub of your laundry cycle. No leaks on its watch!
Must Read
But time, my friends, time is a relentless foe. And for our beloved gaskets, time can bring on the dreaded mold. Oh, the mold! That fuzzy, sometimes black, sometimes green, unwelcome guest that loves to set up shop in the nooks and crannies of your washer door. It’s like a miniature, very damp, ecosystem. And frankly, nobody wants their clean clothes smelling like a forgotten science experiment.
So, the day arrives. You’ve noticed that tell-tale dampness, that faint, questionable aroma, or perhaps the rubber itself is starting to look a bit… tired. It’s saggy. It’s split. It’s seen better days. It’s the gasket equivalent of a well-worn pair of slippers that have officially given up the ghost. And at that moment, you have a choice. You can despair. You can call a professional and watch your wallet weep. Or… you can embrace the adventure.
Replacing the GE front load washer door gasket might sound like a plumbing-level undertaking. It conjures images of wrenches, leaky pipes, and existential dread. But for many GE front load washer models, it’s surprisingly… manageable. Think of it as a slightly messy, very practical puzzle. You’re not building a rocket ship; you’re just unhooking and re-hooking some rubber.
First, you’ll need to identify your specific GE front load washer model number. This is crucial. It’s like getting the secret handshake for your appliance. Once you have that, you can procure the correct replacement gasket. This is usually a simple online order. No need to scour specialty stores or bargain with shady characters in alleyways. Just click, click, done.

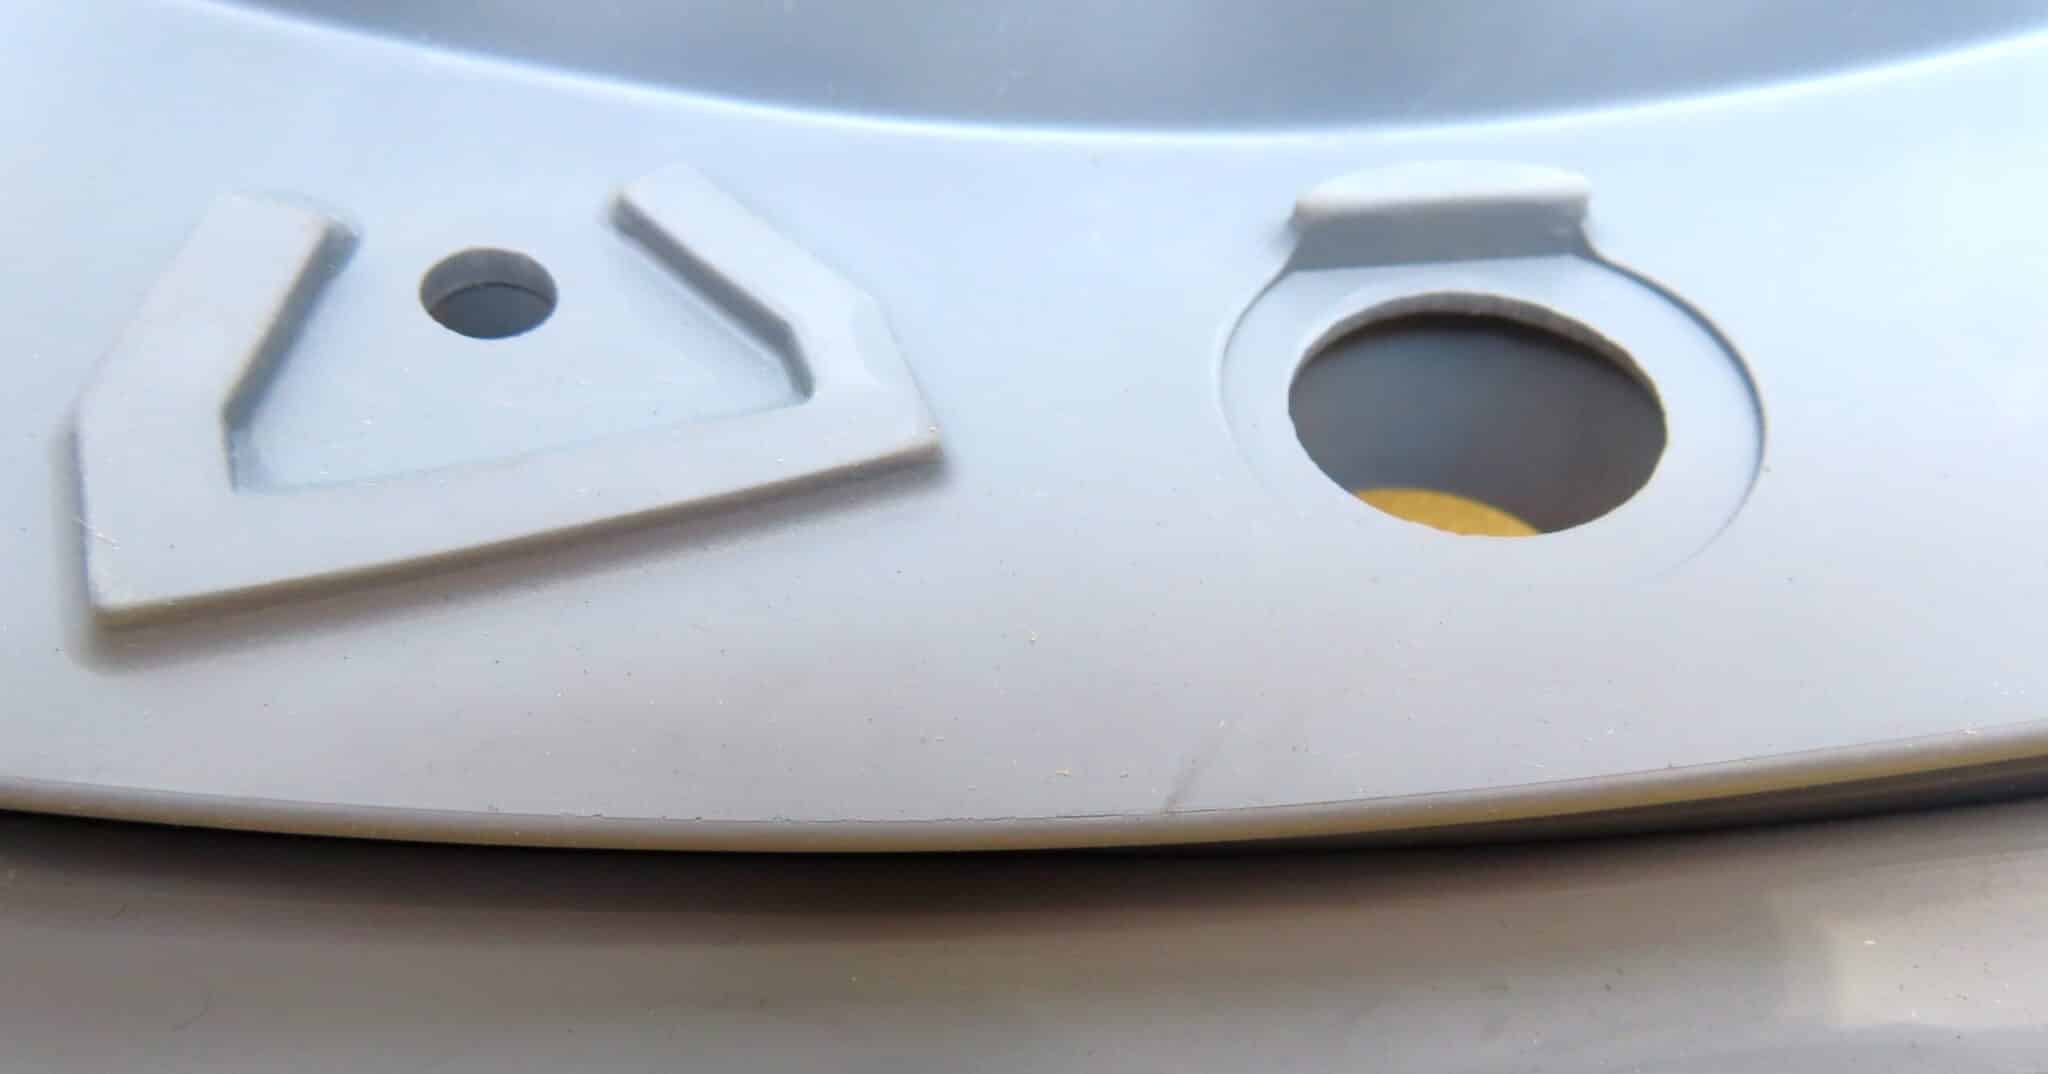
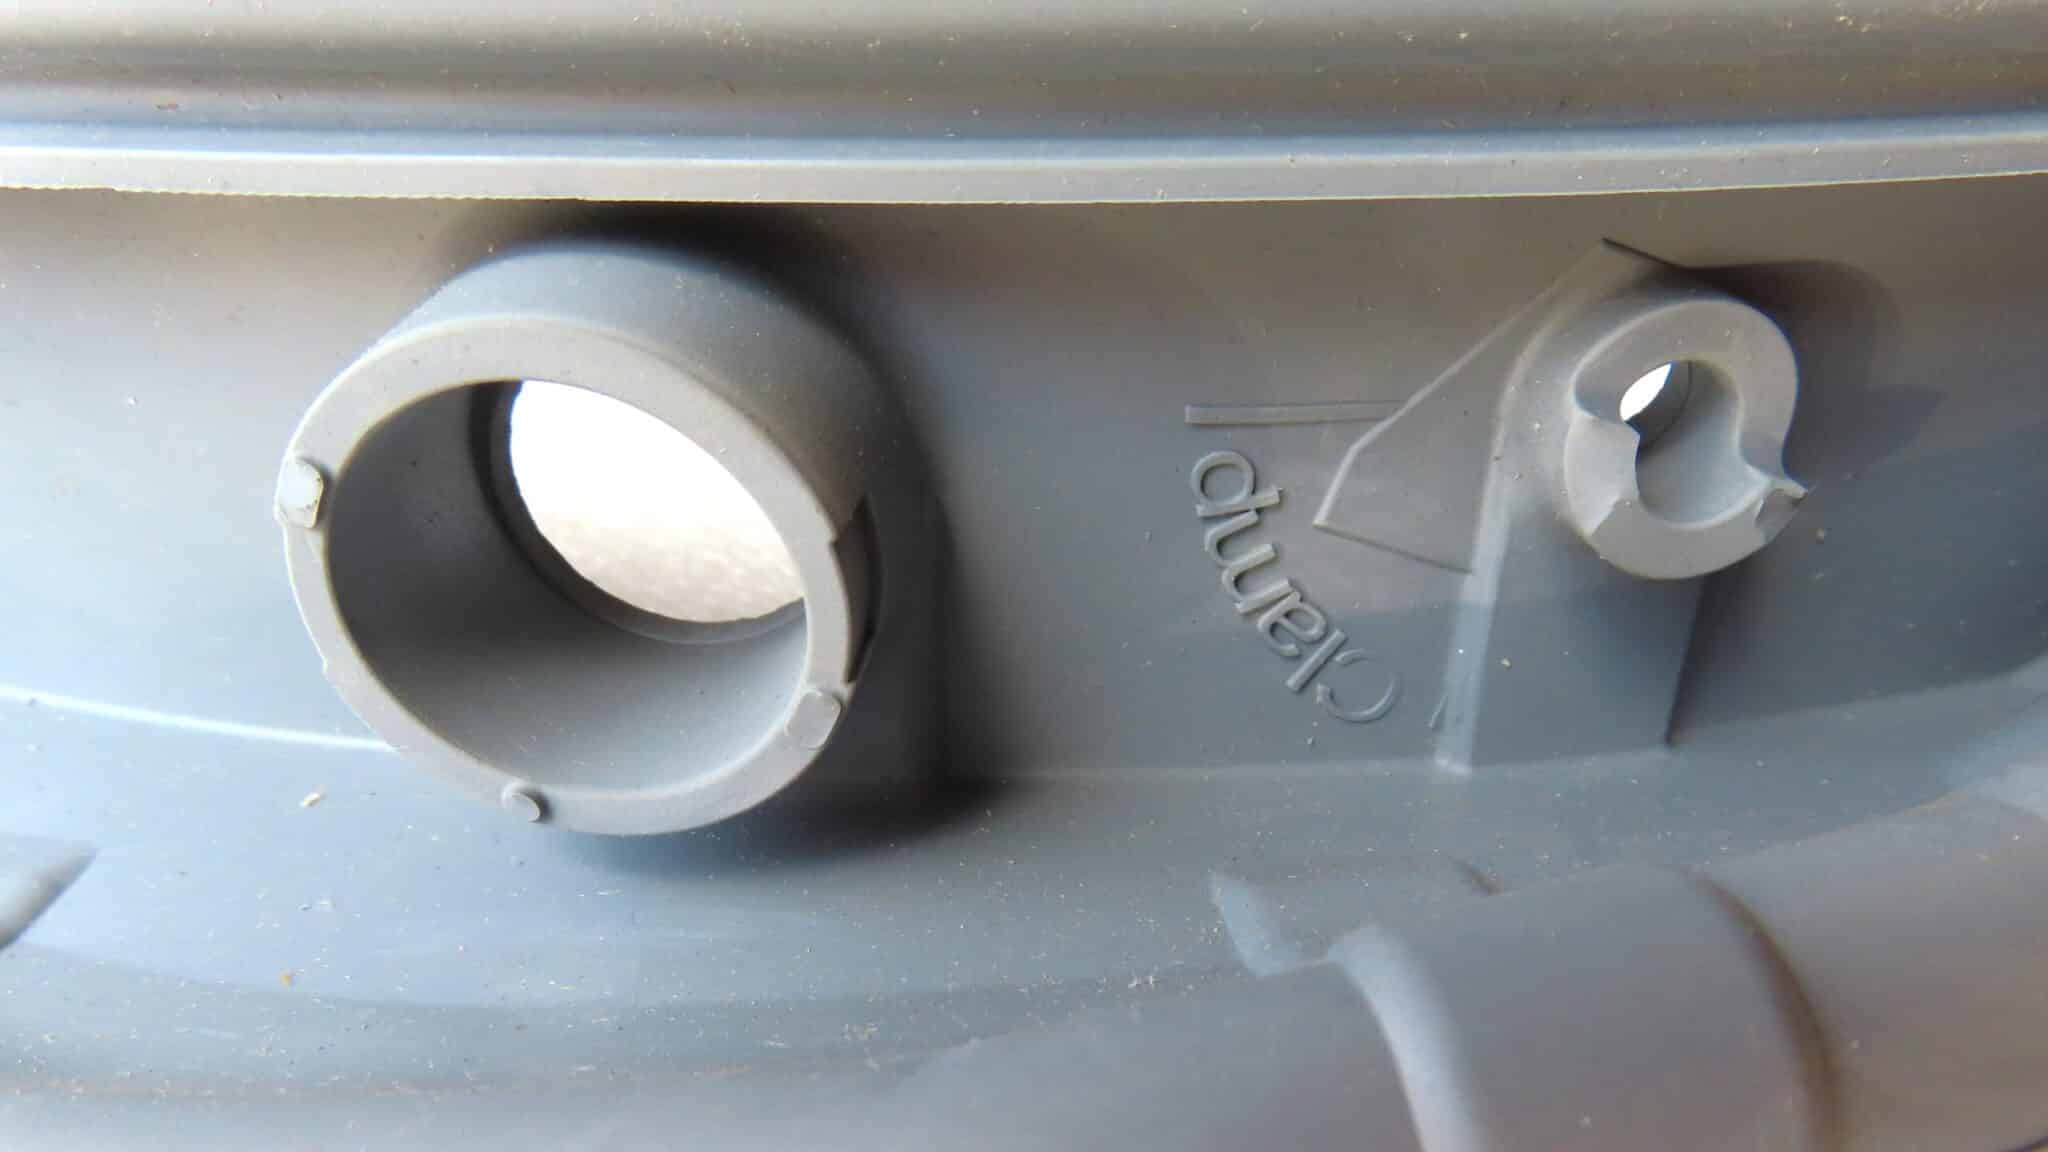
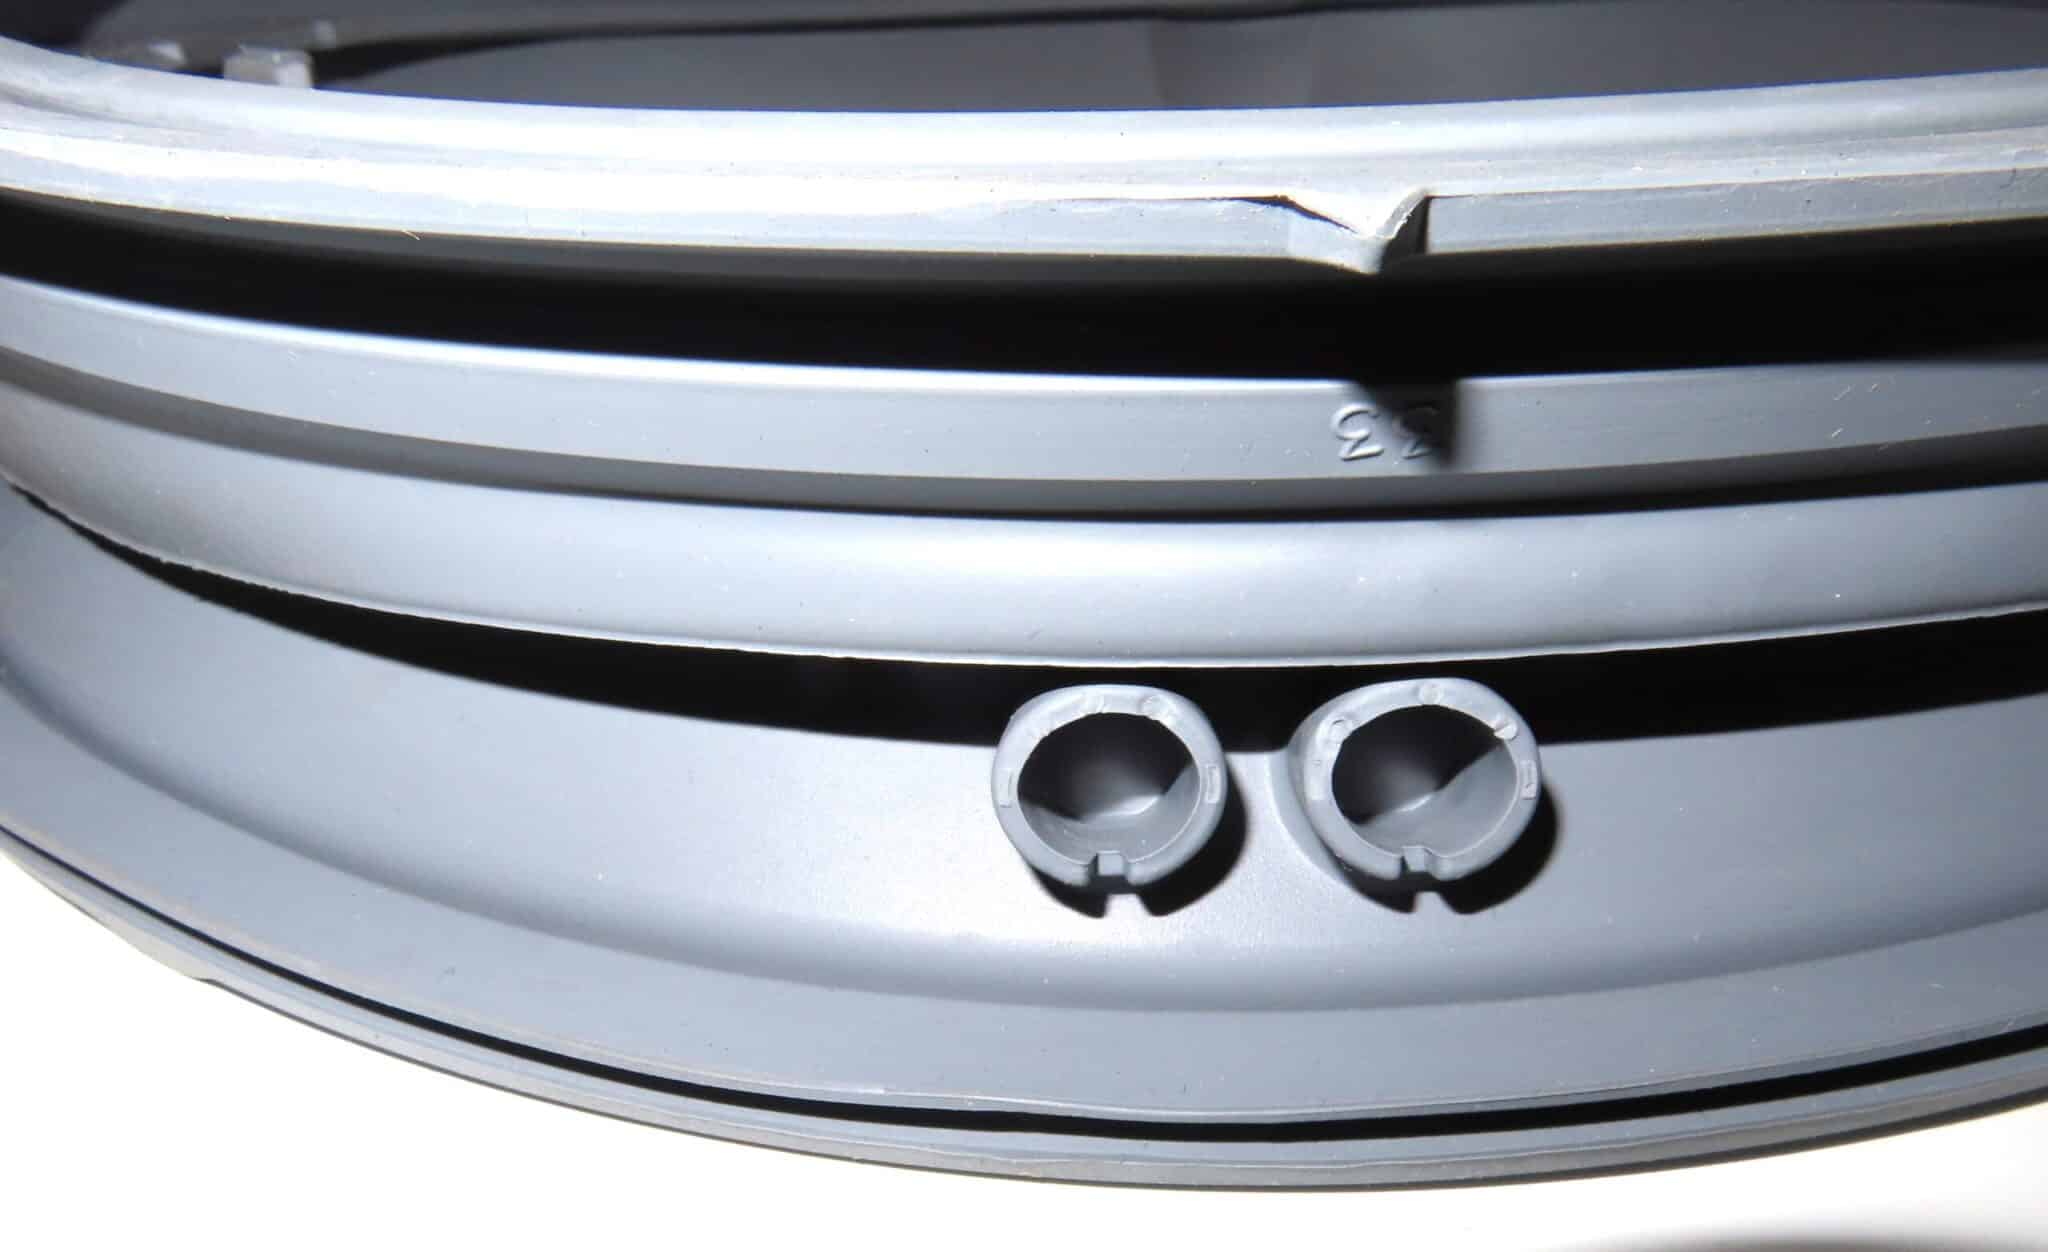
Then comes the moment of truth. You’ll probably need a few basic tools. Nothing too exotic. Maybe a flathead screwdriver, a pair of pliers, and a good dose of optimism. The old gasket is often held in place by a metal spring clamp, a plastic ring, or a combination of both. You’ll need to gently pry, twist, and wiggle. It might put up a bit of a fight. It’s saying goodbye, after all. It’s been through a lot with your clothes.
"It's like saying goodbye to an old friend, a slightly damp, mildew-prone friend."

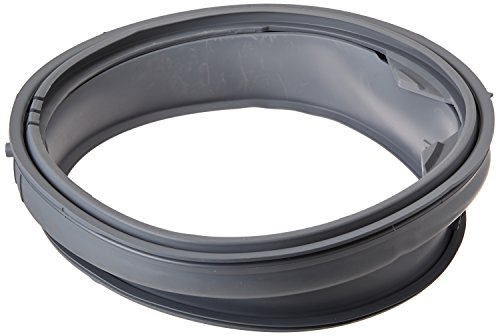
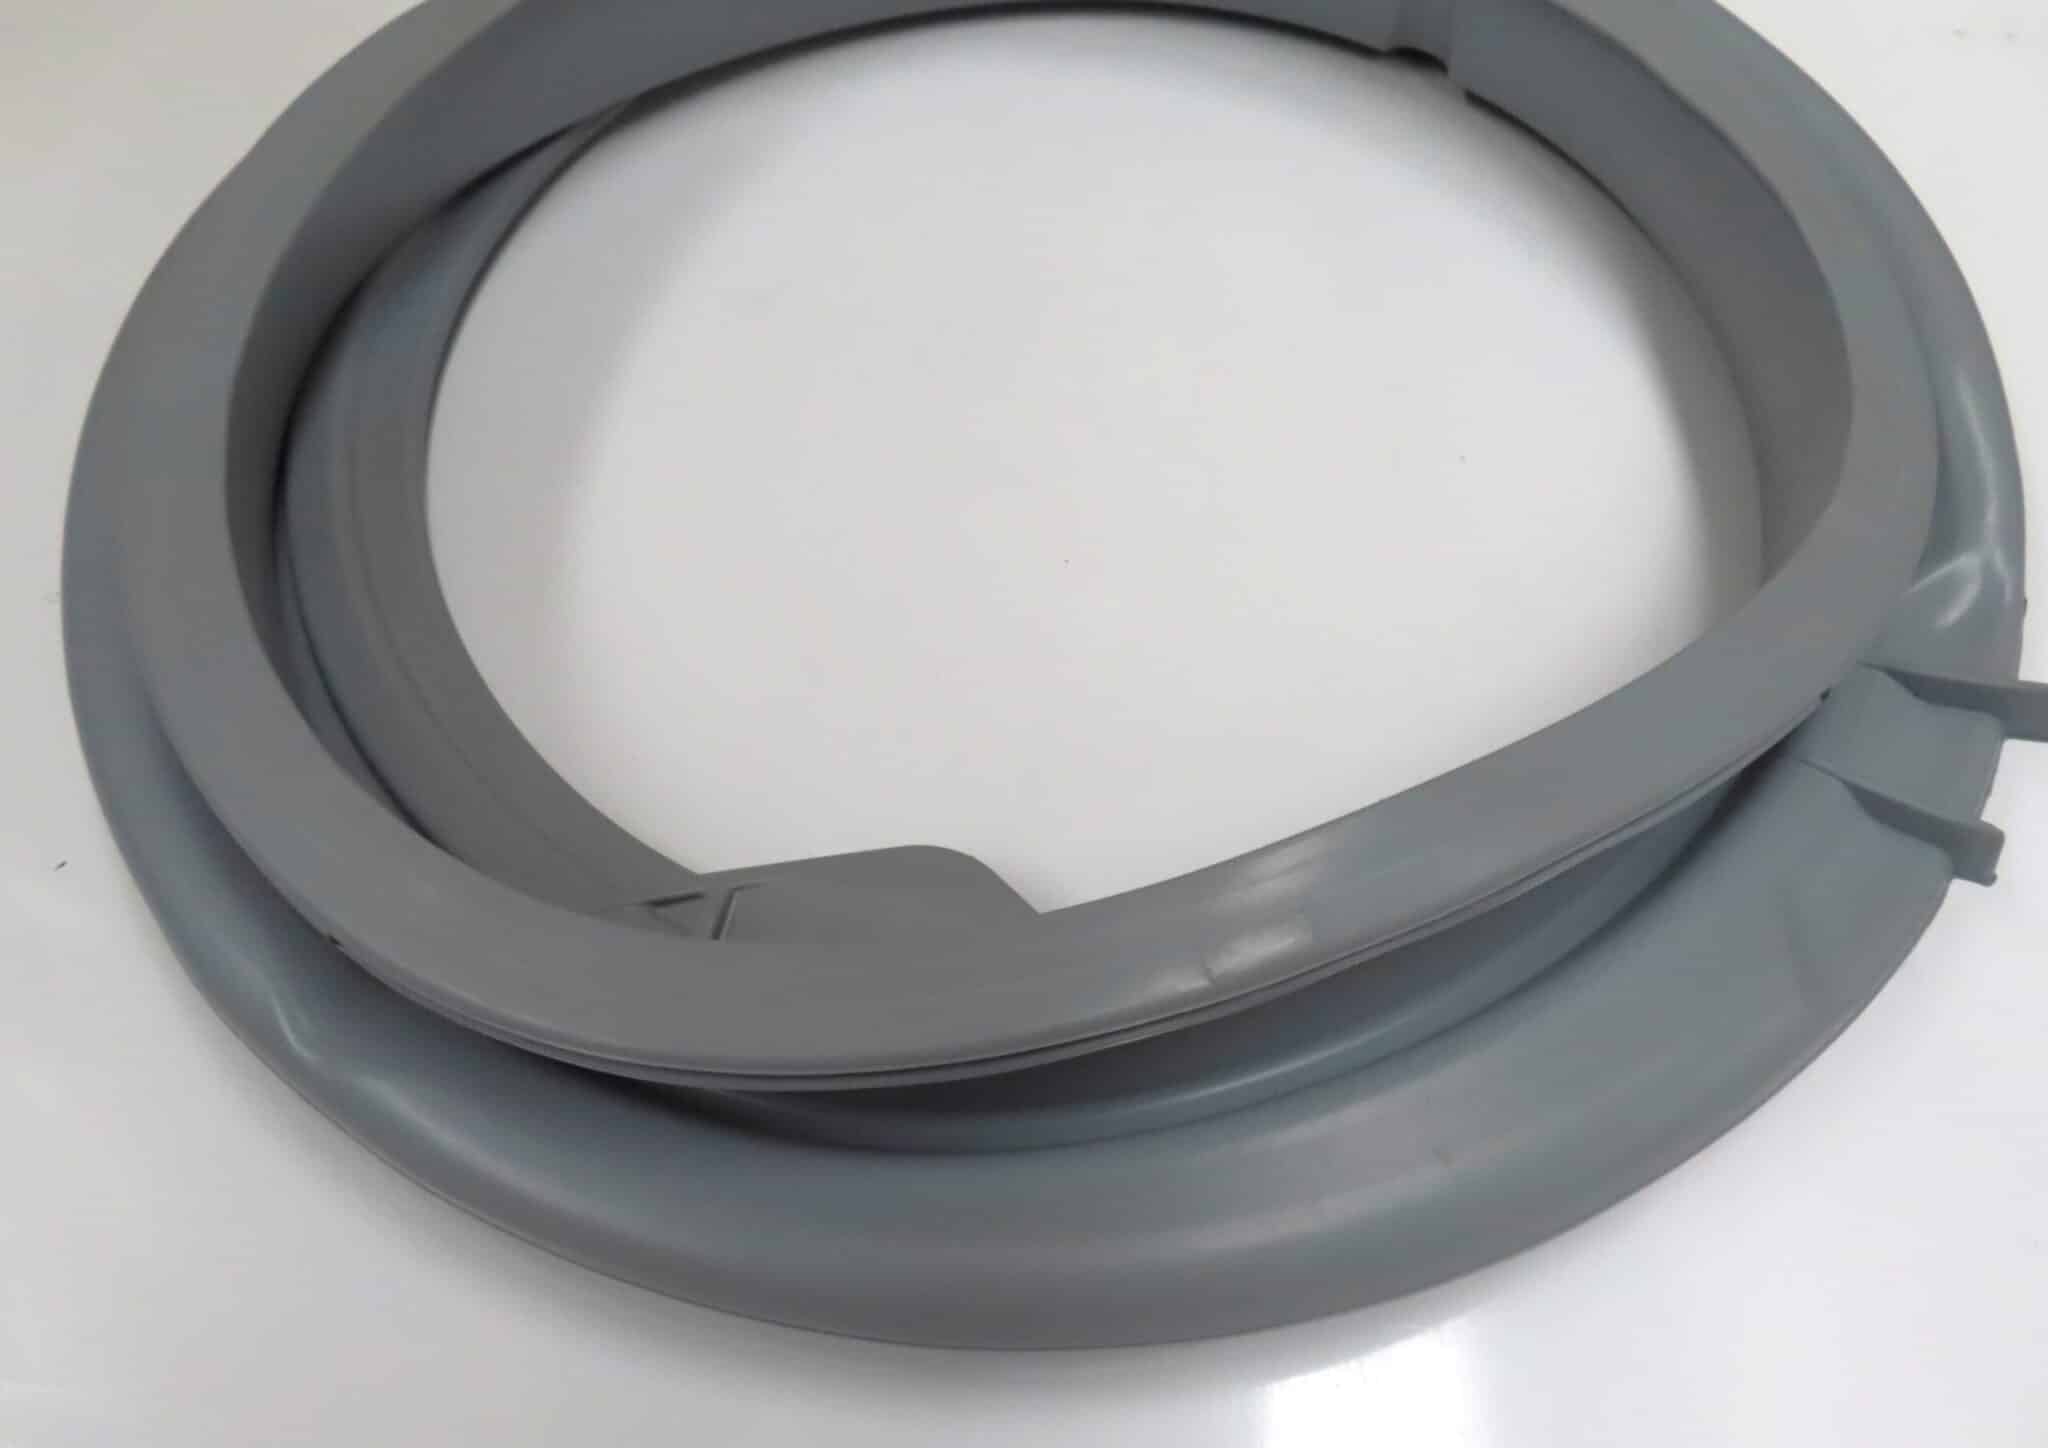
And then, the moment of triumph! The old gasket is out. Marvel at its resilience. Then, dispose of it with the dignity it deserves (preferably in a sealed bag, to contain any lingering funk). Now, for the main event: the new gasket. It’s pristine. It’s unblemished. It smells faintly of new rubber and hope.
Installing the new GE front load washer door gasket is essentially the reverse of removal. You’ll need to carefully tuck the lip of the new gasket into the groove around the door opening. This is where a little patience comes in handy. You’re essentially giving your washer a brand new, watertight smile. Make sure it’s seated properly all the way around. A well-seated gasket is a happy gasket.
Then comes the tricky part for some models: re-installing the clamp or ring that holds it in place. This might require a bit of maneuvering, a bit of squeezing, and perhaps a little bit of whispered encouragement. “Come on, little clamp, you can do it!” It’s a team effort, you see. You and your tools, working in harmony with your appliance.
And when it’s all done? You stand back. You admire your handiwork. You’ve conquered the GE front load washer door gasket replacement! You’ve saved yourself money. You’ve banished the mold. You’ve restored your washer to its leak-free glory. You’ve achieved a level of domestic prowess that most people only dream of.
So, the next time you notice your washer’s gasket looking a bit worse for wear, don’t groan. Don’t lament. Instead, consider it an opportunity. An opportunity for a little DIY adventure. An opportunity to connect with your appliance on a deeper, rubbery level. It might not be the most glamorous job, but it’s a job that makes a real difference. And that, my friends, is a win in my book. Now, go forth and conquer your gaskets! Your clean clothes will thank you. And who knows, you might even find yourself… enjoying it.